Schema Browser
👤 This documentation is intended for SQL Users.
Database Schema Browser
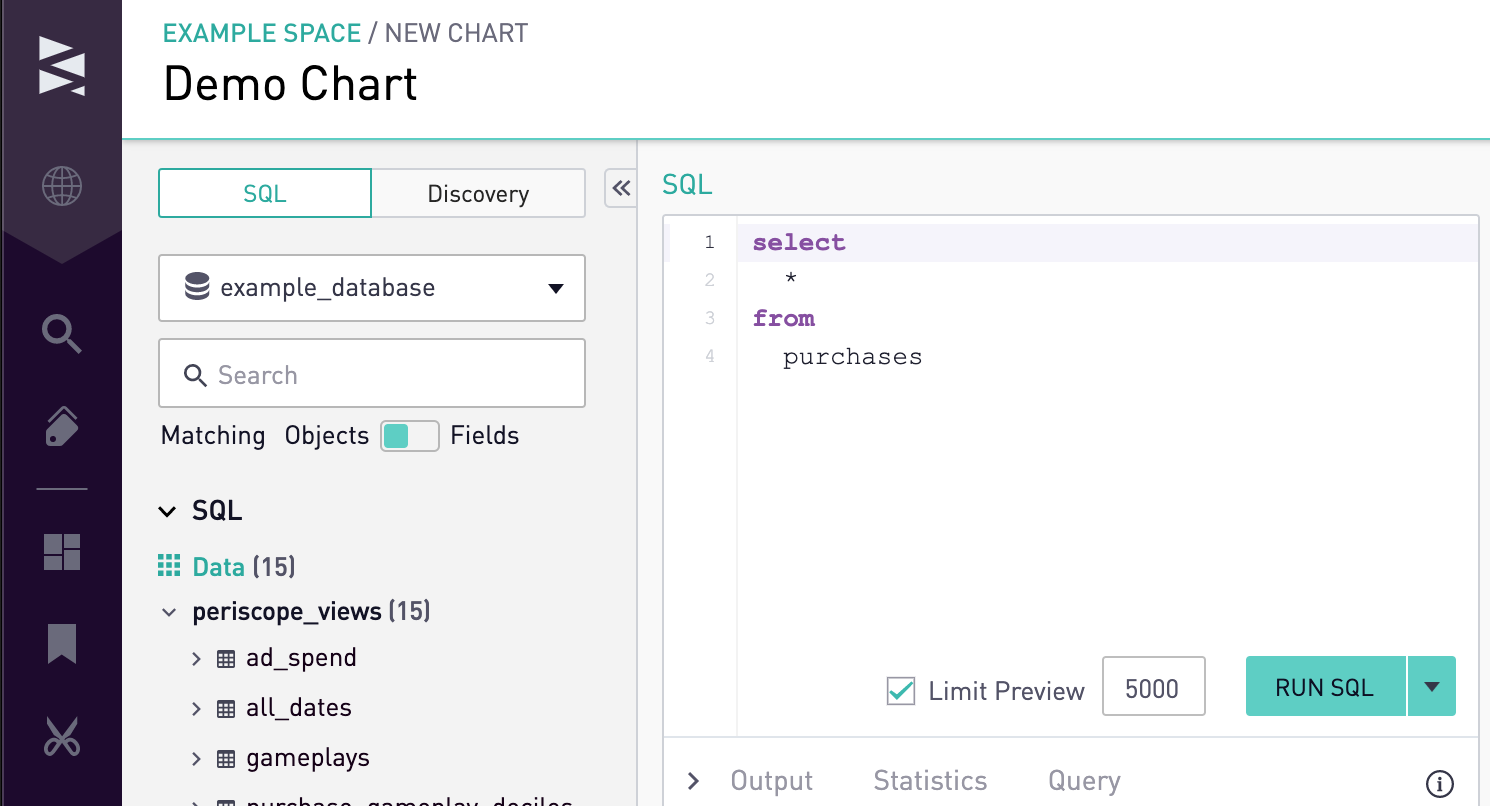
When creating charts and views, users can view their database schemas within the SQL Editor for reference.
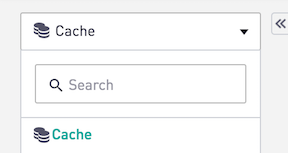
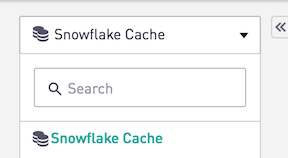
First, choose the correct database from the database dropdown. If using the Redshift Cache choose the 'Cache' database and if on the Snowflake Cache choose 'Snowflake Cache'.
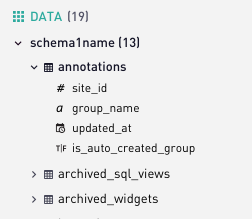
Next, click on the schema to expand the list of tables.
The user can then view the names of each column as well as their data type by hovering over the name. Column types can also be quickly referenced through the icon to the left that signifies whether the column is numeric, text, date/time or boolean data.
Schema Search
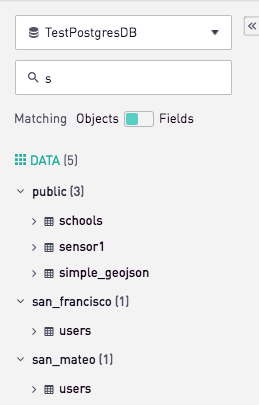
Users can search the schema browser through the search bar below the database name. To search table and schema names, toggle the 'Matching' icon to 'Objects'.
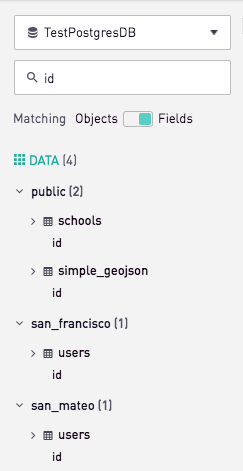
To search the schema browser for column names, toggle the 'Matching' icon to 'Fields'.
Self-Managed Warehouse Schema
Customers can request write-access to their own private cluster on Sisense's Self-Managed Warehouse Plan. For more information, please contact your Account Owner.
Customers with this feature will see Warehouse as the default database in the database dropdown and will have the flexibility to write their own schemas. When admins cache tables to Sisense's Managed Warehouse, the schemas will be displayed under both the Warehouse schema browser as well as under their source database schema.
To run queries against the Sisense cache, the write-access user will need to point to Warehouse from the database dropdown.

Tables added to customer-managed schemas through write-access to the database can be directly queried by the table name alone. Tables cached to the Warehouse from other customer databases through the Caching UI will need to be queried through the following syntax:
select * from database_name.schema_name.table_name.
For more context, please see the documentation page for using the qualification syntax on the Warehouse.