Windows 2016 SSH Server Configuration
👤 This documentation is intended for Site Administrators and/or Database Administrators.
These instructions will guide you through configuring the BitVise SSH client on a Windows Server. Our example was installed on a Windows Server 2016 server hosted by AWS, but should easily be adapted to other Windows Server versions.
1. Download BitVise SSH Server (WinSSHD) here: https://www.bitvise.com/ssh-server-download
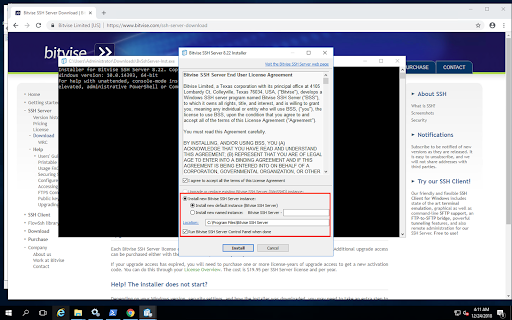
2. Double click the installer and make sure these options are checked:
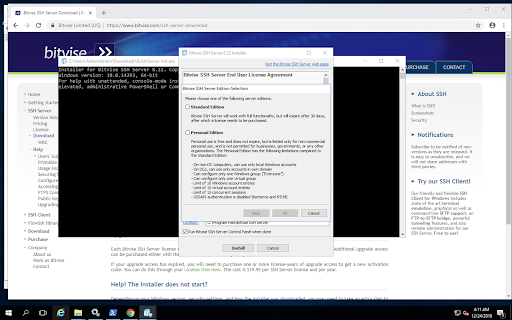
3. Choose the standard or personal edition depending on your use case. Note: You need to purchase a license for the standard edition.
4. Download Sisense for Cloud Data Teams' public key here: https://doc.periscopedata.com/article/ssh-tunnel
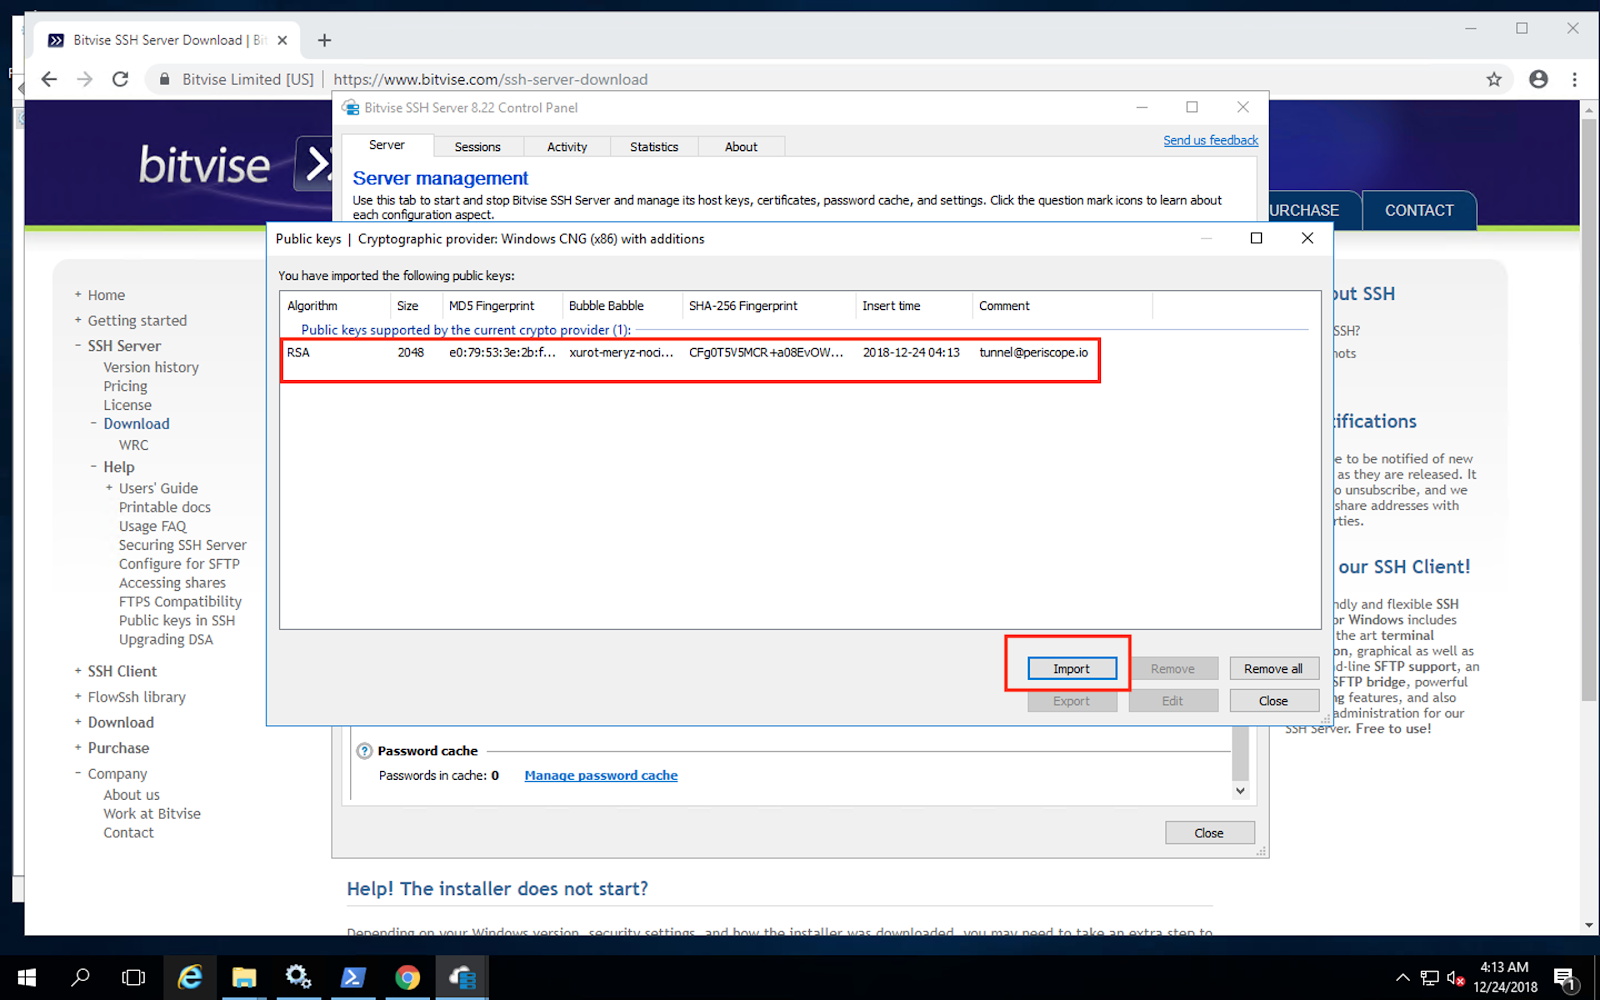
5. On the Server tab in BitVise, import Sisense for Cloud Data Teams' public key.
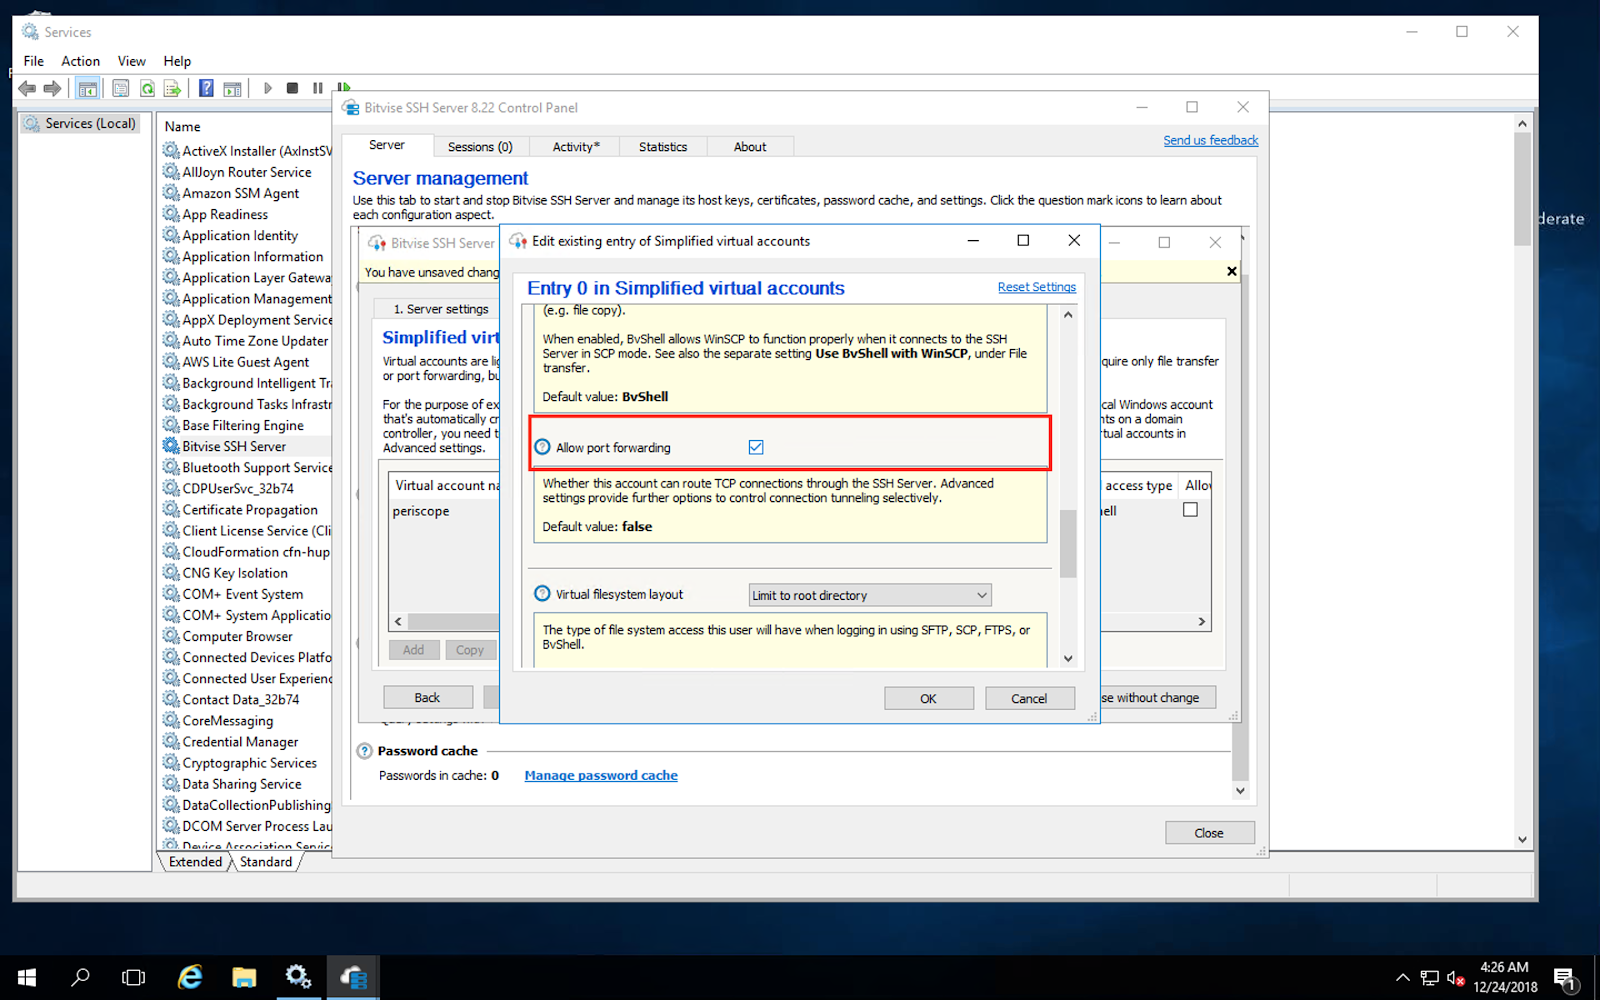
6. Add a virtual account named sisense with port forwarding checked. You can also come back and check port forwarding later.

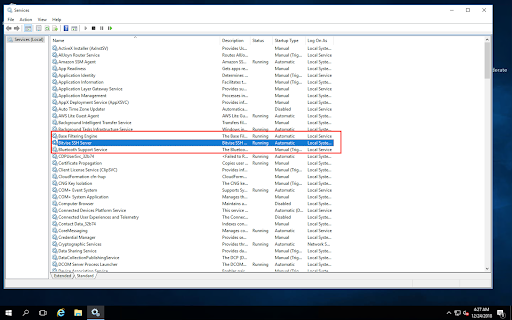
7. Open Services Manager (Run services.msc to open this) and verify BitVise SSH Server is up and running. Verify its startup type is set to automatic
8. Open the firewall to allow for inbound SSH connections (connections on port 22).
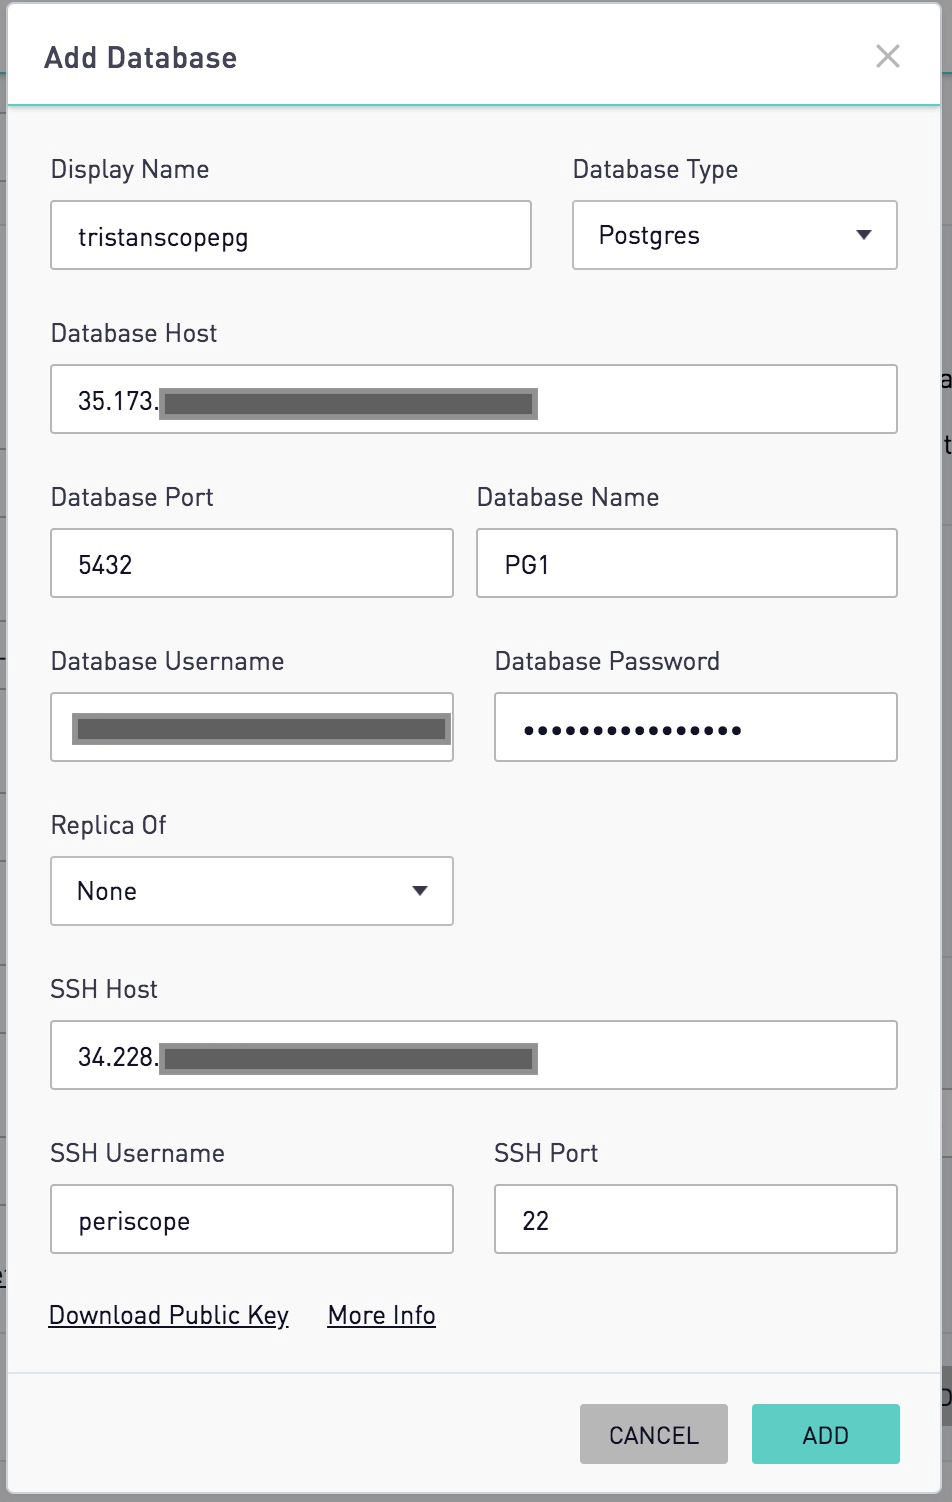
9. Log into Sisense and, following the steps to add a database, navigate to the Database page in the Settings menu and configure the database. To enter the SSH settings, click the "Connection to a Private Network" option and fill in the SSH Host, Username, and Port.