Linux SSH Server Configuration
👤 This documentation is intended for Site Administrators and/or Database Administrators.
These instructions will guide you through configuring an SSH tunnel on a Linux server. Our example was installed on a Linux server hosted by AWS, but should easily be adapted to other Linux based server versions. The SSH session was launched from macOS version 10.13.3, using the built in terminal command line.
NOTE: Steps are in BOLD type, commands are in ITALICS.
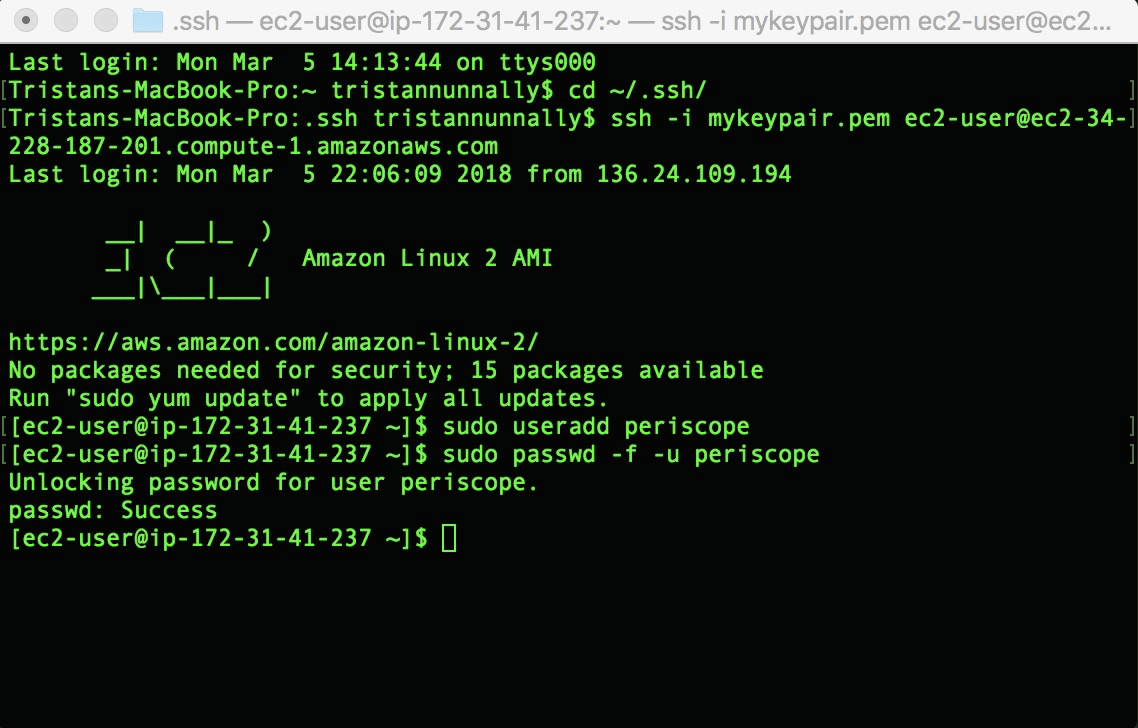
1. Connect to the Linux host via SSH (HINT: You must cd to .ssh folder when launching ssh connection from your local desktop).

2. Create a user named “periscope”: sudo useradd periscope (press enter)
3. Remove the password for the “periscope” user: sudo passwd -f -u periscope (press enter)
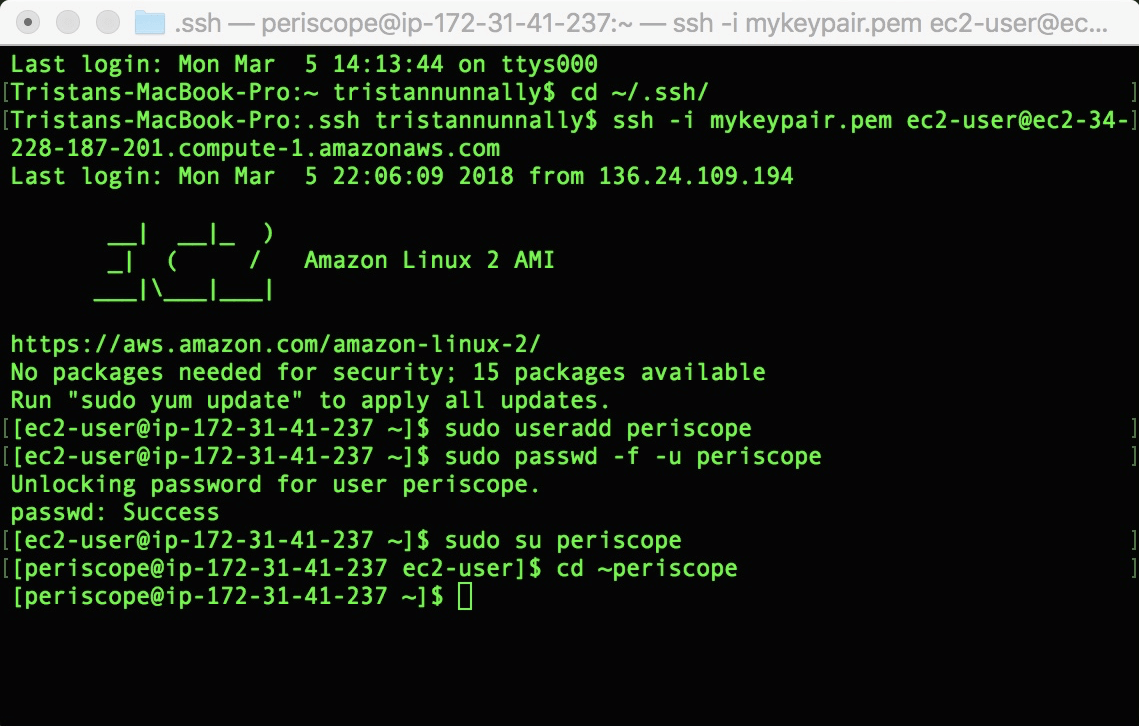
4. Switch over to the periscope user: sudo su periscope (press enter)
5. Navigate to the periscope home directory: cd ~periscope (press enter)
6. Create the .ssh directory for the “periscope” user: mkdir .ssh (press enter)

7. Navigate to the .ssh folder: cd ~periscope/.ssh/ (press enter)
8. Create the authorized_keys file: touch authorized_keys (press enter)

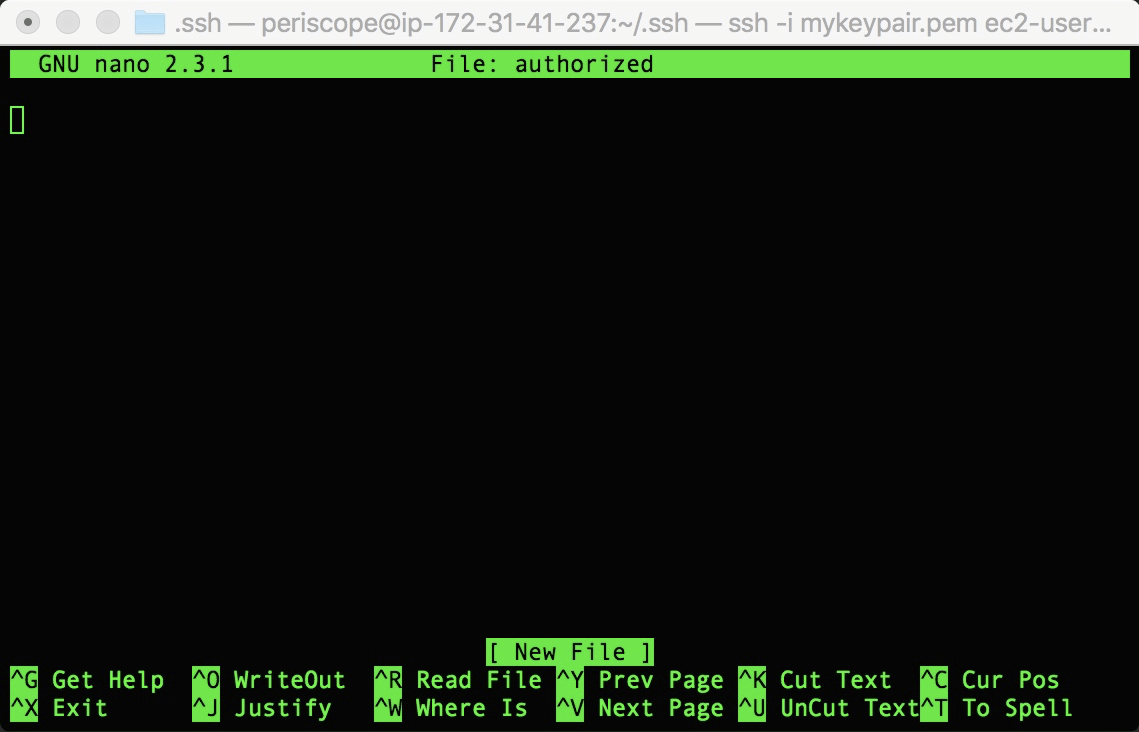
9. Open the authorized_keys file: nano authorized keys (press enter) (you can also try pico OR vi instead of nano)

10. The terminal text editor will open:
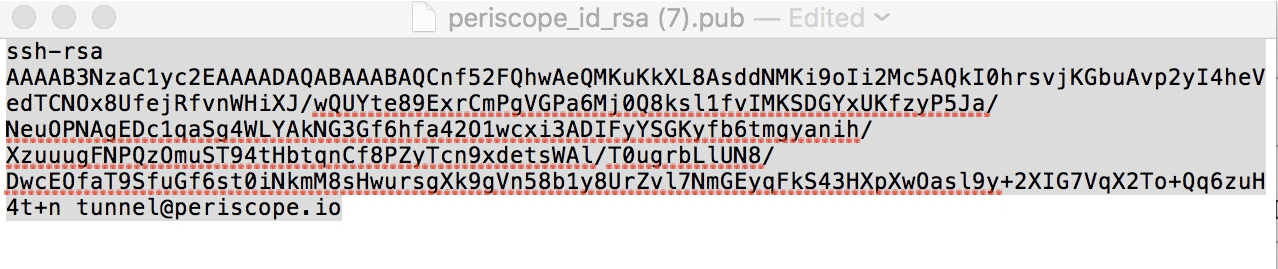
11. Open the periscope key (periscope_id_rsa.pub) in a text editor on your local machine and copy the entire contents.
12. Authorize the key by pasting its contents into a new line in the terminal text editor

13. Press Control+x to exit (Save modified buffer?)
14. Press “Y “to save

15. When the “File name to write:” prompt is shown, Leave the file name as “authorized_keys”. (press enter)

16. Restrict permissions to the authorized_keys file:
a. chmod go-w ~/ (press enter)
b. chmod 700 ~/.ssh (press enter)
c. chmod 600 ~/.ssh/authorized_keys (press enter)

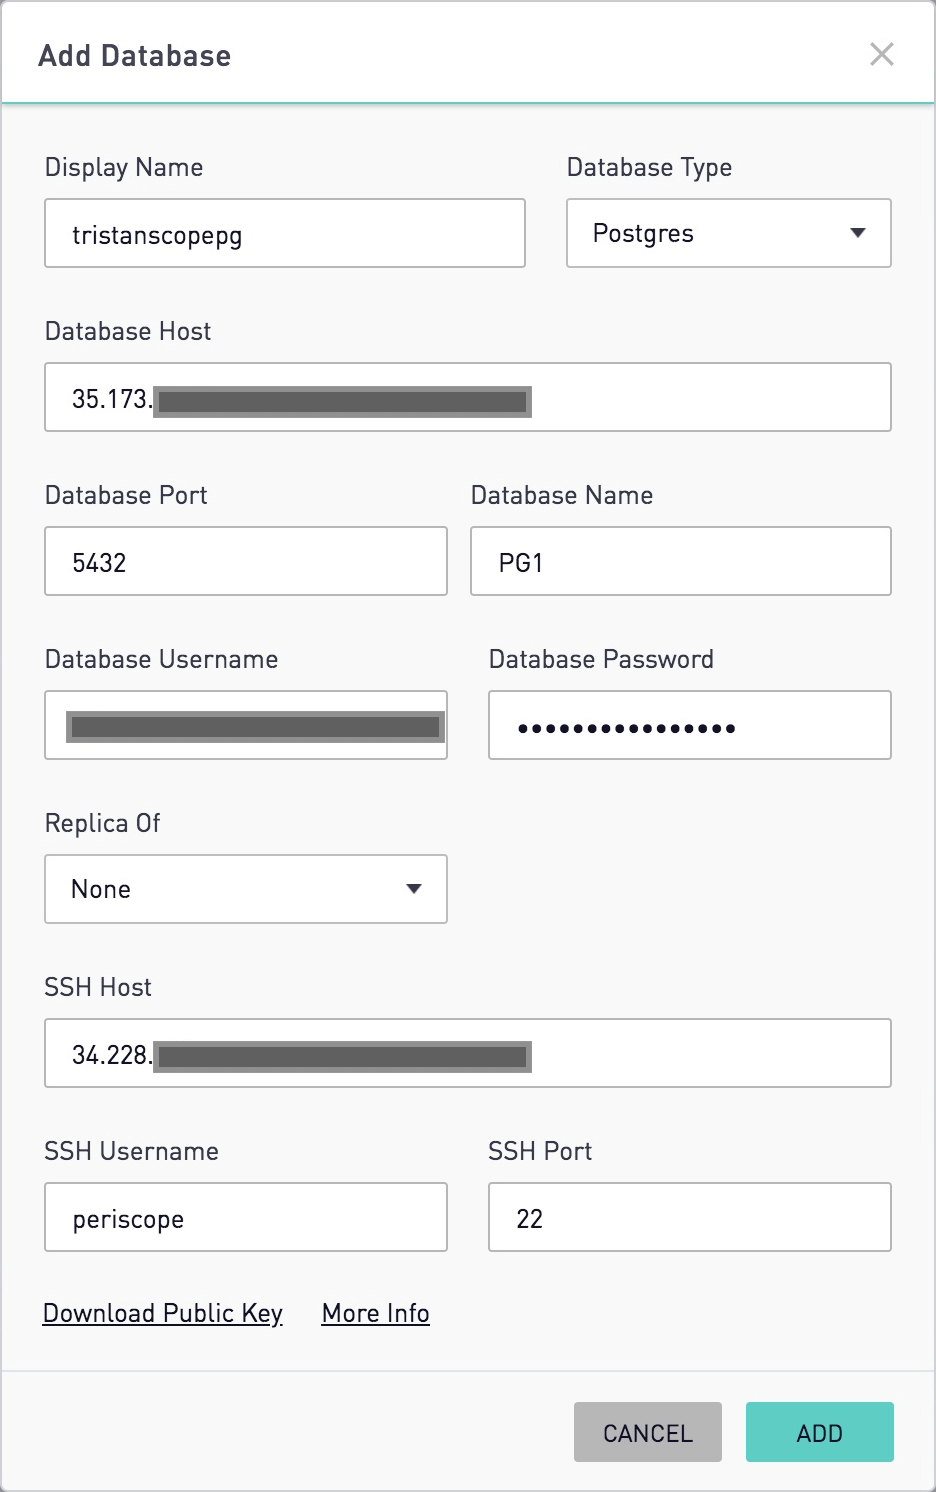
17. Log into Periscope and navigate to Settings > Database and configure the DB and SSH settings in Periscope (see our “Getting Connected” Docs here for more information.).