Custom Filters
👤 This documentation is intended for SQL Users. For all other users looking how to use a filter on a dashboard, scroll down to the "Using Filters on the Dashboard" section on this page.
Filters are a powerful tool that can slice an entire dashboard by anything in the database: geography, platform, user acquisition channel, etc. Here's how.
Creating Filters
Sisense for Cloud Data Teams automatically offers users default aggregation and date range filters. Additional custom filters can be made in one of three ways:
- Query a database for values
- Input fixed name value pairs
- Allow the user to manually input any value
To create a new filter, first open the Filter pane at the top of the dashboard. Then, click the "+" button to the right of the dashboard-wide filter dropdowns.

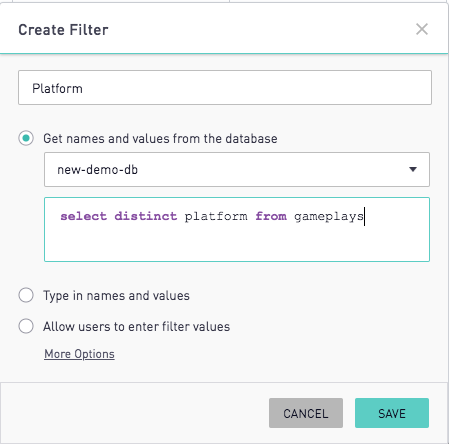
The query can get names and values from a database using the top-most radio button. Enter the query and then press save for the filter values to populate.
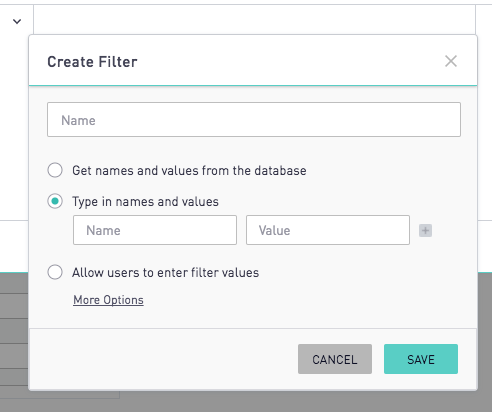
Another option when creating a filter is by manually inputting display names and values. The filter will display the name as the option but will input the value into the query itself.
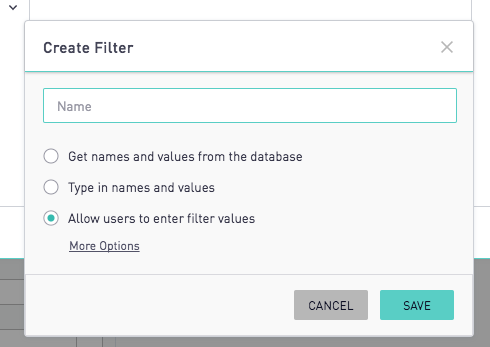
The final option is that the filter can allow for any manually entered input with characters A-Z, a-z, or 0-9. Decimals, single hyphens, and negative numbers are supported.
The manual filter type will allow the user to enter a single or multiple values. To enter multiple values, each value must be typed in independently with return/enter pressed in between each unique value. When multiple values are entered, they will be returned as a comma separated list in the SQL reference.
Note: Sisense prevents SQL injections by sanitizing the filter value. As a result, the manually entered filters will not return special characters aside from single hyphens, negative signs, and decimals, and will convert all values to string.
Once the query is written, click "Save." The new filter will pop up on the filter bar and will display the three values returned by the query: Android, iOS and Web.

Existing filters can be added to other dashboards as shown in the documentation on Adding, Moving, and Removing an Existing Filter.
Making Charts that Use Filters
Now that the Device filter has been created, it can be used in the charts! There are two ways to implement filters in the SQL, standard notation and direct replacement:
Standard Notation
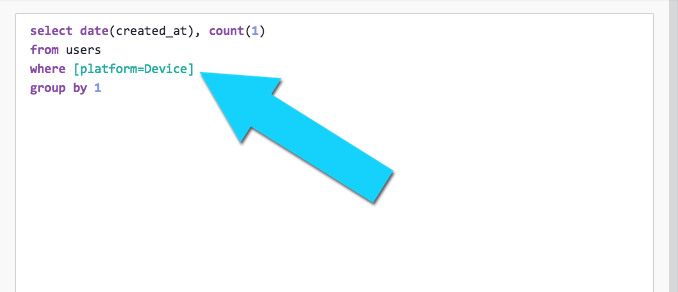
This notation filters a column by the values selected in a filter. In a SQL chart, use "where [my_column_name=FilterName]" anywhere in the SQL. Sisense will fill in appropriate values on the fly.
In this case, the "users" table has a "platform" column, which can be used in the "New Users" chart like so:
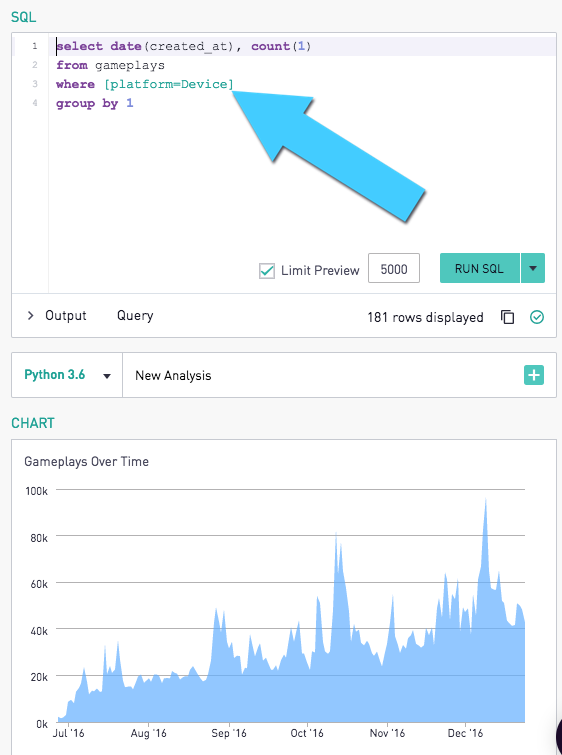
The "gameplays" table also has a "platform" column, so the filter can be applied in a Gameplays chart like this:
Direct Replacement Notation
This method of calling filters allows for more flexible options in setting filter behavior. Refer to the documentation here for further details and examples.
Using Filters on the Dashboard
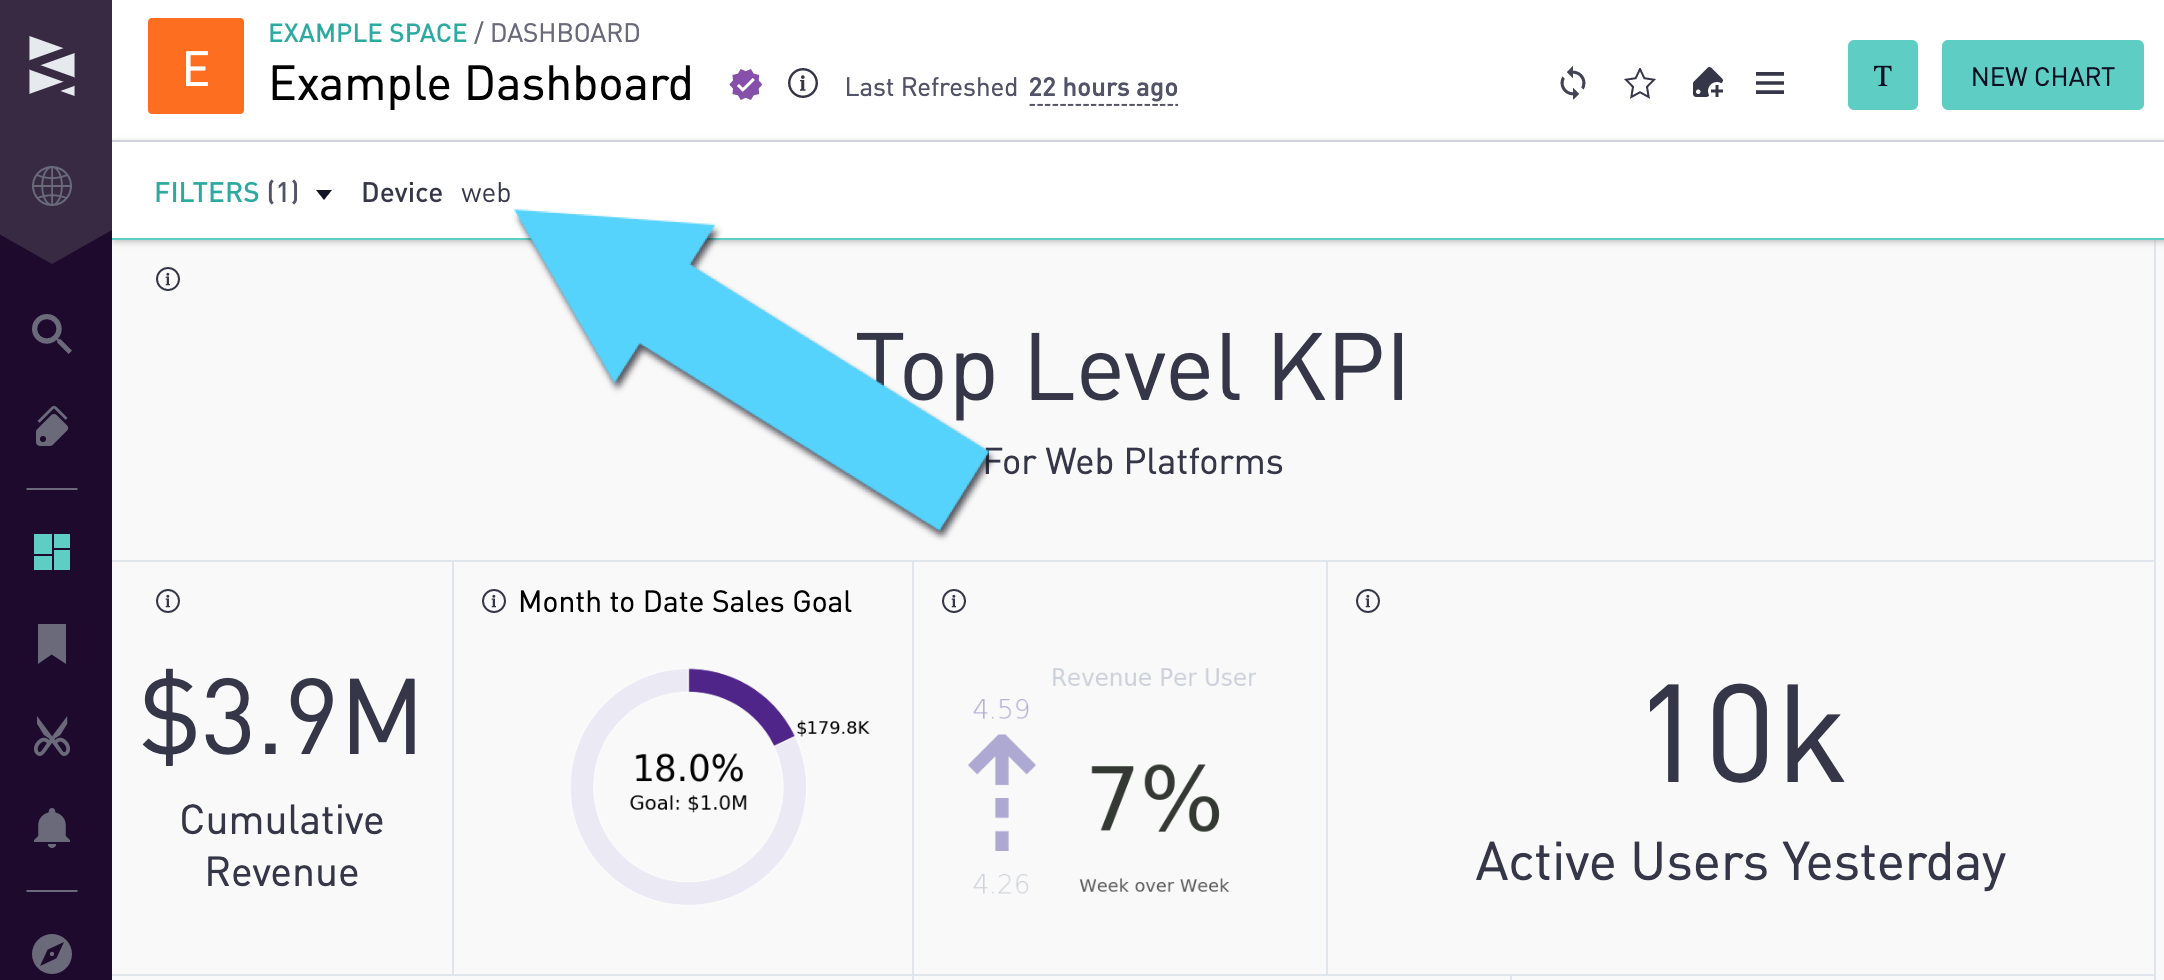
Once the changes are saved to the dashboard, the appropriate Filter values can be applied in the Filter bar. Clicking "web" and then "Apply" (or double-clicking "web") will filter the charts on the dashboard to web users and web gameplays.

The filter bar now displays that the "web" filter is active, even when the bar is closed.
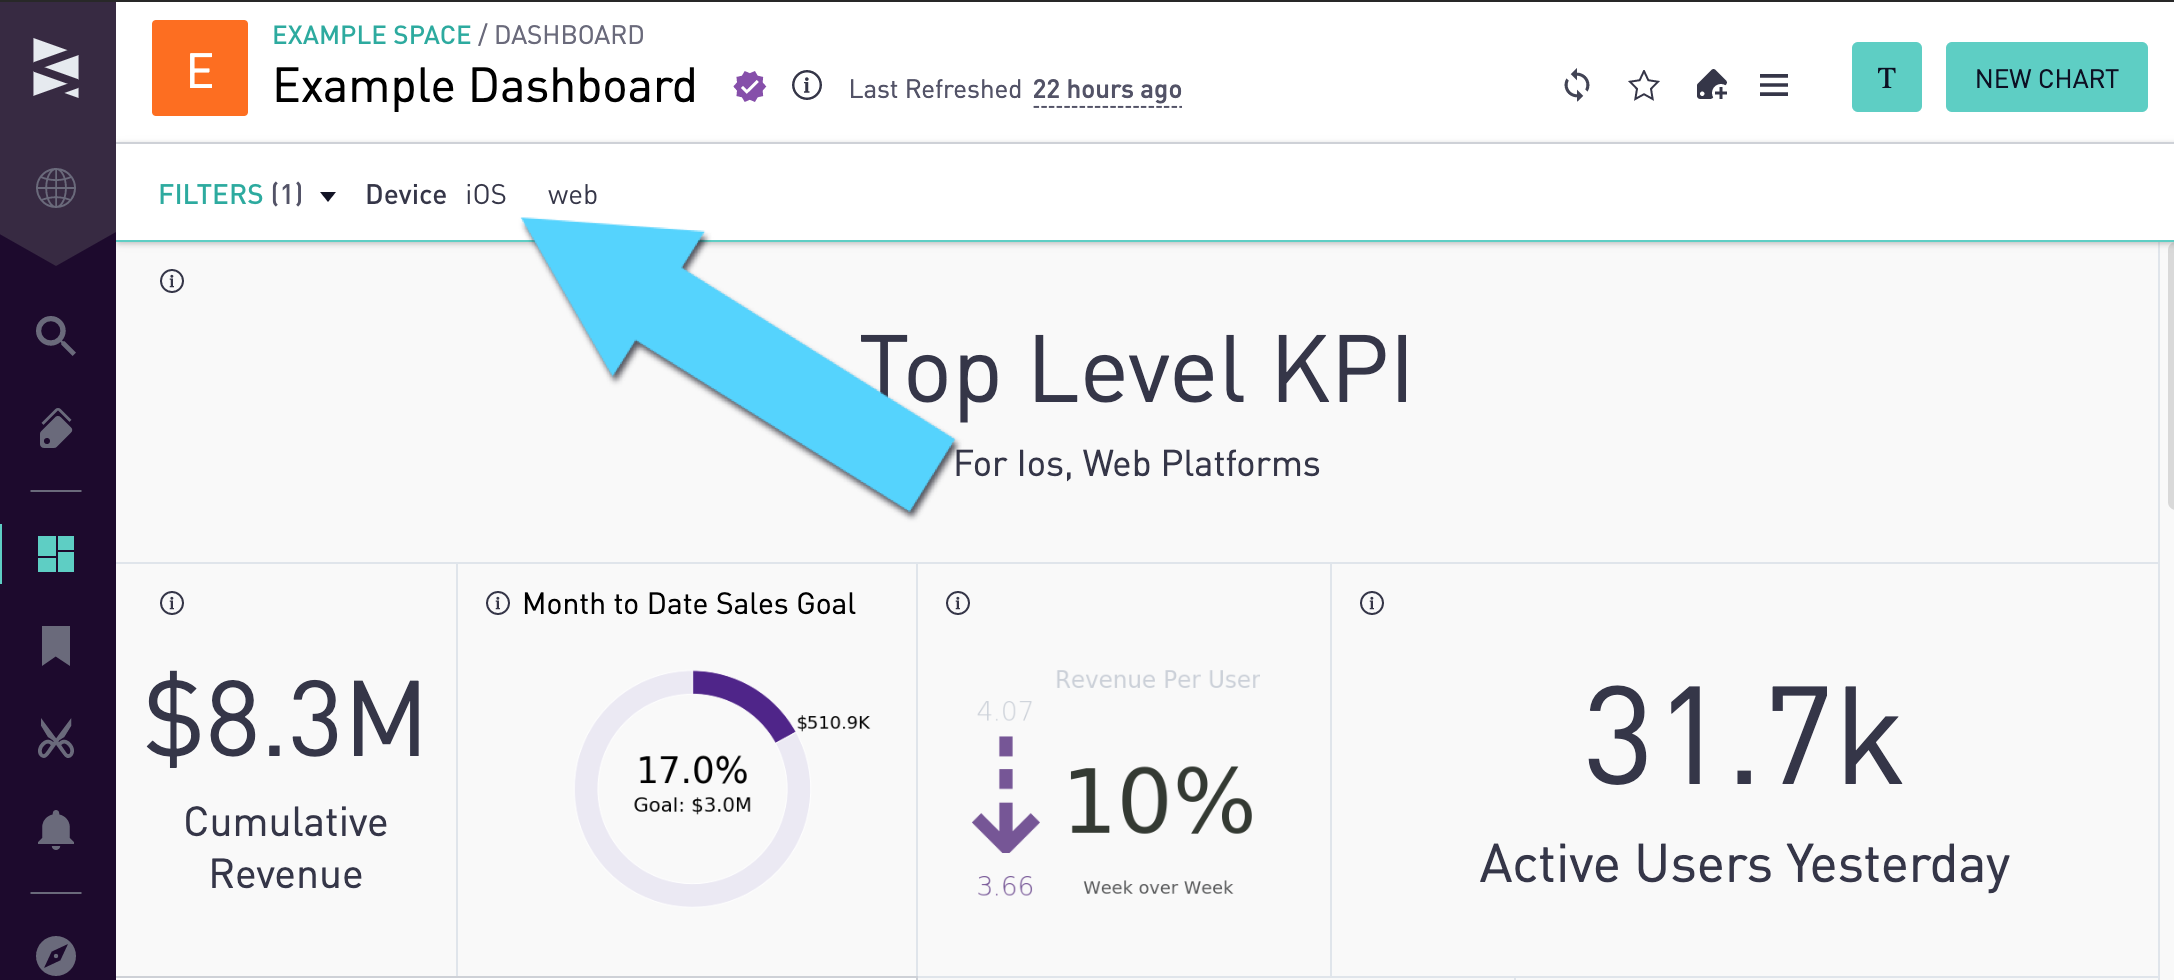
To select multiple values at once, simply check multiple values. For example, check both "web" and "iOS" and click Apply.

Just like before, the charts update and the filter bar displays the newly active filters.
Using Filters in Chart Titles
Filter values can be displayed in chart titles. Capitalizing the first letter of the filter name such as [Filter_name] will auto-capitalize the first letter. Calling out the filter as [filter_name] will follow the capitalization of the original value.
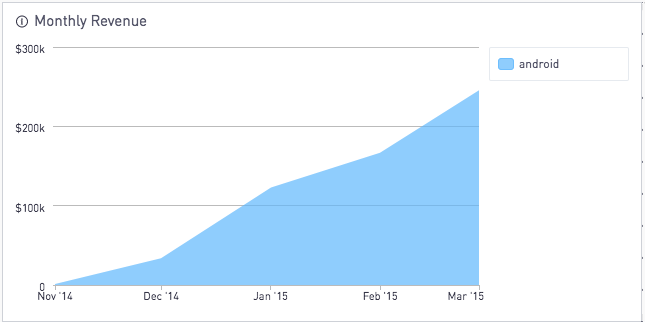
For example, the following chart title employs the aggregation filter:
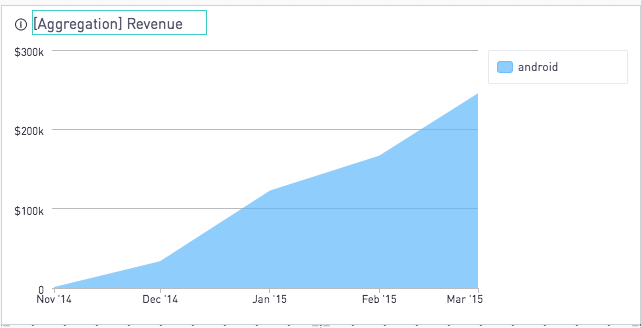
When the user chooses "monthly" as the aggregation value, the chart title will automatically display “Monthly Revenue”:
Looking for More?
Try our community page for guidance on topics like: